
In Toning Henna – Part 1, five recipes were tested on hennaed hair, post oxidation, while one recipe was testing on hennaed hair prior to oxidation. I noticed that the hair was different between each recipe, but I didn’t expect to see such a difference between the hair that was toned before and after oxidation, even with similar recipes.
Welcome to Toning Henna – Part 2, where we explore the same mixes, same time frames but all of the hair had the toning mixes applied before the henna had time to oxidize.

What is toning?
If you’re familiar with “henna gloss” or “indigo gloss,” then you’re already familiar with the idea of toning. Toning is a way to alter your hair color from the current color. It’s called “toning” because you’re fine tuning your hair color by adding the missing pigment that will help you get the color that you’re looking for. People tone or do glosses for many reasons, but the biggest reason is because their hair may have come out brighter and/or lighter than expected.
Toning can also be beneficial if you’ve made a mistake in your mix, such as using too much henna, accidentally leaving indigo out your mix, or even correcting a mix where the indigo had demised.
Maria – Toning Henna Part 1
Hair Prep
All of the mohair used was prepped by using a clarifying shampoo and the Twilight henna paste sat on the hair for 24 hours due to lack of body heat. Body heat allows us to keep the paste on for less time to get optimal results, so when testing on samples using henna, 24 hours is a good time frame).
Toning Mixes
All measurements are based on gram weights. A and B samples were left on the hair for 30 minutes and 60 minutes, where as C, D, and E were left out for 15 minutes, 30 minutes, and 60 minutes).
A 90% cassia; 10% indigo (30 minutes ,60 minutes)
B 75% cassia; 25% indigo (30 minutes, 60 minutes)
C 50% cassia; 50% indigo (15 minutes, 30 minutes, 60 minutes)
D 25% cassia; 75% indigo (15 minutes, 30 minutes, 60 minutes)
E 10% cassia; 90% indigo (15 minutes, 30 minutes, 60 minutes)
Mixing Prep
Ancient Sunrise® Clarity Cassia and Sudina Indigo were used (Zekhara indigo can be used for toning as well). Both cassia and indigo powders were mixed together with distilled water right away. The paste should be a thick consistency, only slowly dripping off of the mixing utensil. The paste was applied right away after mixing.
Results


After washing 


Toning Henna (Part 2) • Comparing Mixes
First Test vs Second Test
After observing the samples over a weeks time, I noticed that these samples looked much different than the first series of tests I ran. It’s important to note that the only difference between the first and second tests was that the first test was done after the hennaed hair had settled into it’s final color, while the second test took place before the hennaed hair had settled into its final color.
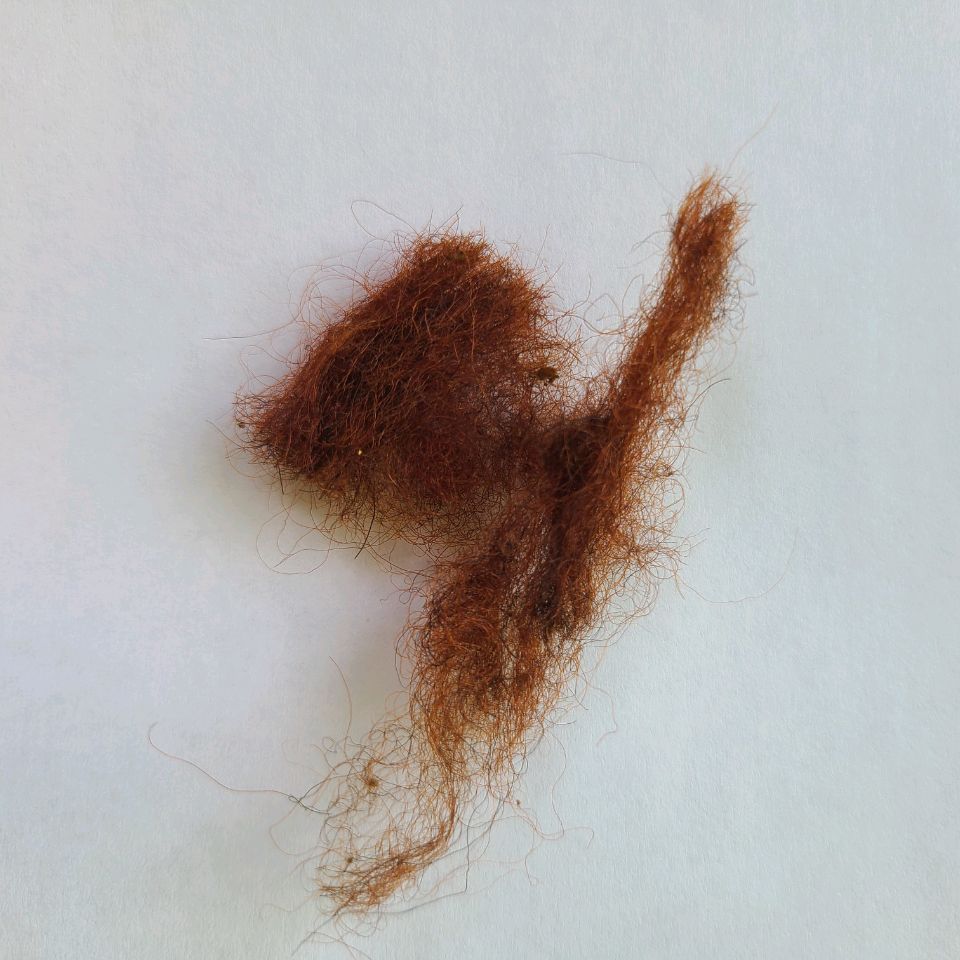
Hair from the first test is on top in each photo; hair from the second test is on the bottom in each photo.

90% cassia, 10% indigo (30 minutes) 
90% cassia, 10% indigo (60 minutes) 
75% cassia; 25% indigo (30 minutes) 
75% cassia; 25% indigo (60 minutes) 
50% cassia; 50% indigo (15 minutes) 
50% cassia; 50% indigo (30 minutes) 
50% cassia; 50% indigo (60 minutes) 
25% cassia; 75% indigo (15 minutes) 
25% cassia; 75% indigo (30 minutes) 
25% cassia; 75% indigo (60 minutes) 
10% cassia; 90% indigo (15 minutes) 
10% cassia; 90% indigo (30 minutes) 
10% cassia; 90% indigo (60 minutes)
Every hair swatch of the second batch of samples appear to be lighter and had less red tones. Warmer/red tones show lighter to the human eye because of how we see color, therefore if they were the same level of hair color, all of the bottom swatches would be darker.
It’s probably safe to assume that if one were to do a mix that didn’t come out as warm as straight henna, that toning, either immediately or after a week of letting the hair sit, the results would be cooler in general. It will be important to conduct these tests over different swatches of hair and different mixes. For now, an accurate assessment would be that if you want your hair darker and not as red, then doing a toning mix with cassia and indigo would be good.
Always test to find out what mix and time will work best for you and your hair. Contact our customer service team for assistance: helpdesk@mehandi.com or call 1-855-MEHANDI or 330-673-0600. Visit http://www.Mehandi.com and HennaforHair.com for more information.
 Maria • Ancient Sunrise® Specialist • Licensed Cosmetologist
May I request that you elaborate on that? Your posts have been extremely helpful to me. Thank you!